Contenidos
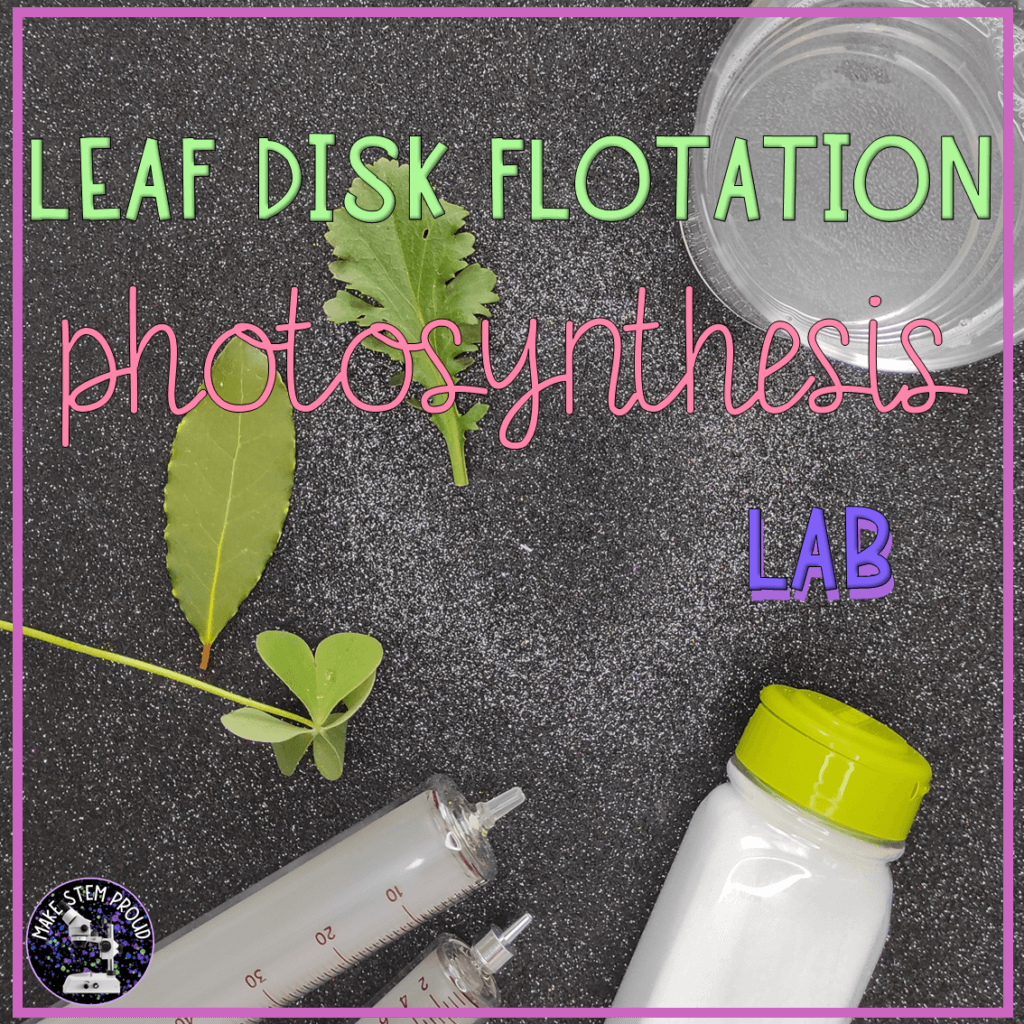
What is the leaf disk flotation photosynthesis lab?
The leaf disk flotation photosynthesis lab is a very good experiment for photosynthesis that you can easily do with students in a classroom setting.
By measuring the leaf disk flotation, you can quantify photosynthesis in a very easy manner. It’s a very versatile experiment for photosynthesis you can do with middle school students and high-schoolers.
I have done it in a 50-minute session, so it should be easy to implement this for yourself. Let me tell you exactly what you need to do!
It is also a very good way to introduce variables in experimentation. You will be able to study different variables in photosynthesis: maybe you want to study different species, or different concentrations of substances in the water… You can include the students in the design of the leaf disk flotation photosynthesis lab, and I bet you will get awesome results.

What materials do I need to do it?
The materials you need in order to do the photosynthesis activity
- Several leaves – I recommend you use different species of leaves to introduce an extra variable.
- Bicarbonate of soda
- Water
- Syringes
- A hole-punch
- A little bit of dish soap
As for plant species, I have used fresh bay leaves, and fresh daisy leaves, and they rose differently. I have seen it done with spinach, and lettuce.
How does it work?
The concept behind this lab is that the oxygen gas created by the photosynthesis adheres to the leaf disk making it float.
The bicarbonate of soda provides the CO2 in order to do the photosynthesis.
It’s important that you eliminate all the gases on the leaves prior to starting the experiment.
Steps for the photosynthesis lab
Step #0: decide what your variable will be.
The easiest variable is the species of the leaf, but you could also choose to study different concentrations of substances in the suspension liquid.
Step #1: mix one glass of water with two teaspoons of bicarbonate of soda, and a couple of drops of soap.
I did not measure the amounts, but I dissolved approximately two teaspoons in one glass of water. By the time I started, there was some bicarbonate of soda at the bottom of the glass.
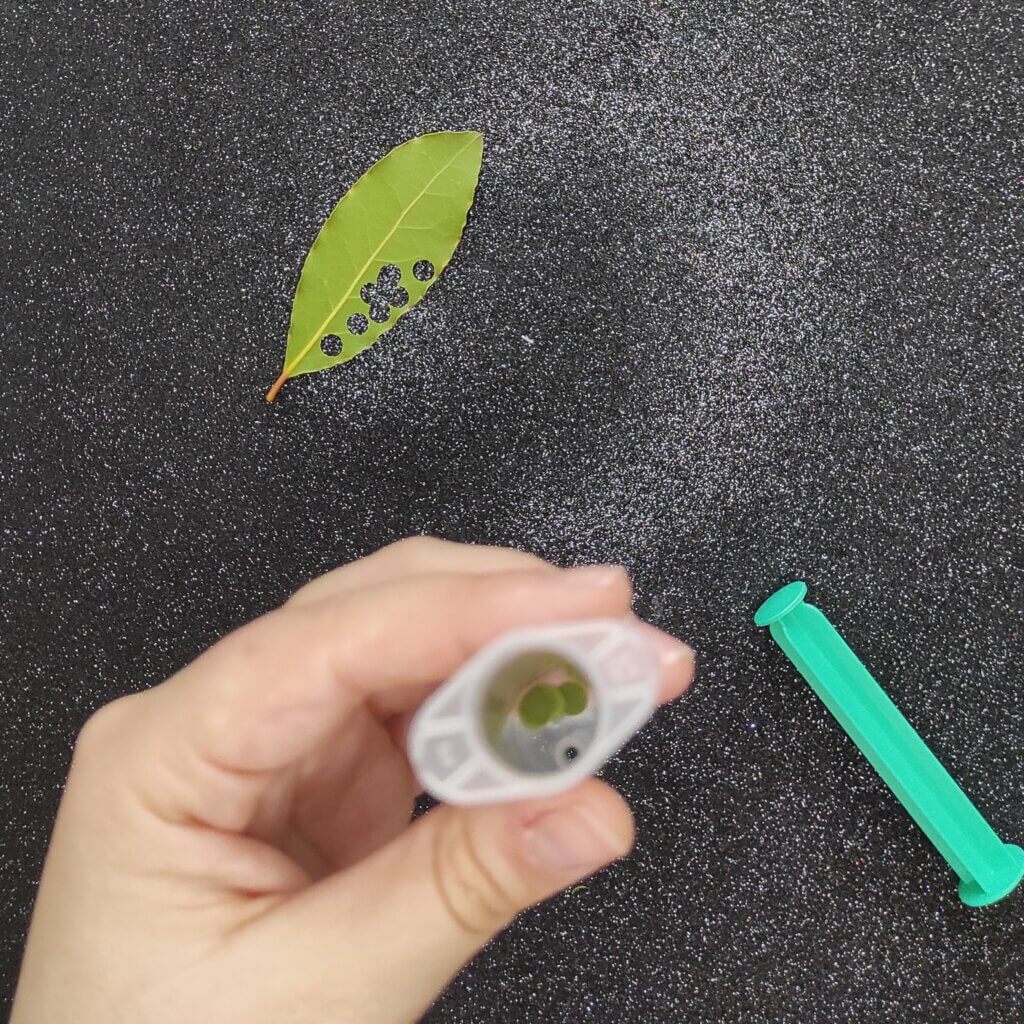
Step # 2: hole-punch some disks out of different types of leaves, and introduce 10 into each syringe.
I recommend you use 10 disks for each syringe in order to easily calculate percentages with your students. But you could easily do more or less.

Step #3: Add some of the liquid mix to each syringe.
To ease the next steps, I recommend using around half the syringe. Don’t fill it up completely.
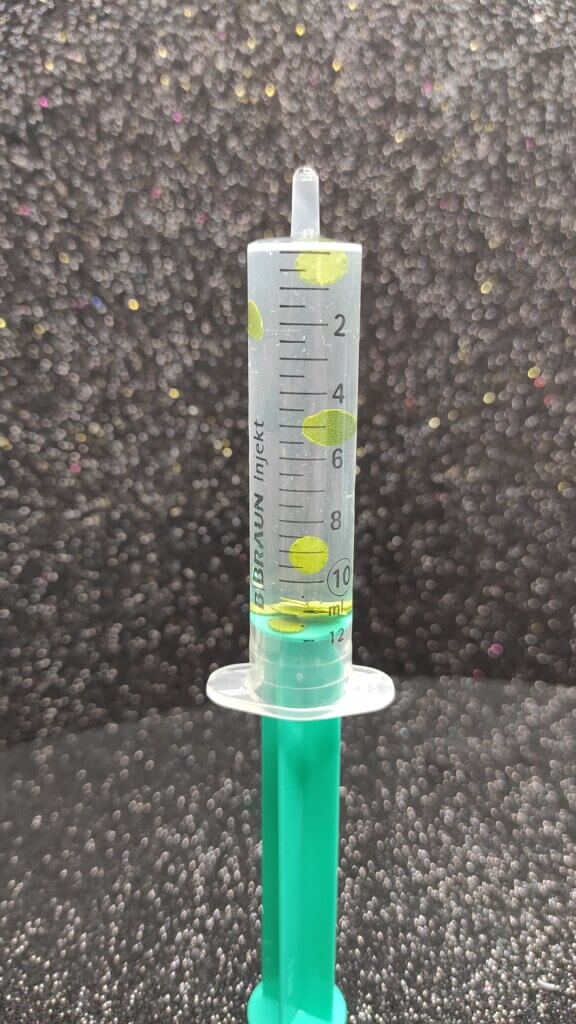
You should now see the disks at the top of the syringe.
Step #4: Place a finger on the top of the syringe and make a vacuum inside the syringe
After you repeat this step a couple of times, you should have all the disks at the bottom of the syringe.
Step #5: Fill up all the syringes to the same volume.
It’s important because all the disks should travel the same distance.
Step #6: You can now place your syringes in the light.
Now, I tried placing it under my ring light, and nothing happened, so I recommend you use natural light. After about 10 minutes, all my disks had risen for the daisies, and some had risen for the bay leaf.

How can I implement it in class?
The way I did it in class was, first, I introduced my students to the lab. The day before the lab, I explained it, so my students knew how they were going to be working.
I also explained all about how we were going to be studying some variables: in my case, it was 2 different species under 2 different lighting conditions.
The class was split them into pairs to follow the instructions for the preparation of the syringes. I assigned each group a variable. After the experiment, all the groups had to exchange the information they had gathered in order to fill a report page.
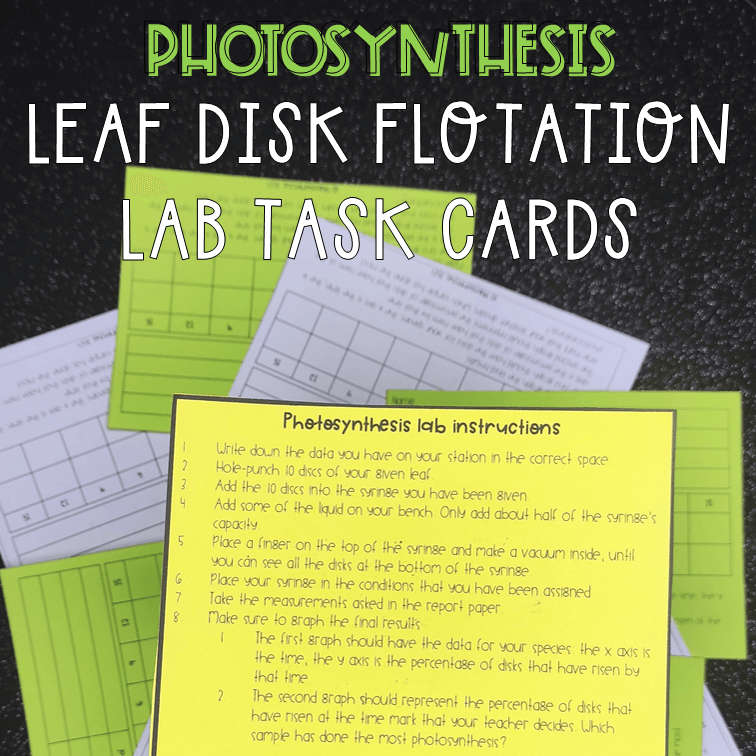
If you would like to use this in your class, I offer the following task cards for the photosynthesis lab for yourself:
