It’s no secret that teacher organization is an art in and of itself. After all, it’s like being a manager: you have to manage your own time as well as your kids’ time. That’s why this year I have made myself my own planner, the easiest and most DIY way possible.
Contenidos
The tools
At the beginning of the year I bought myself a teacher happy planner big notebook. Basically, it is a discbound system you can use to personalize all of your needs. I chose this because it was the cheapest alternative at the time, and I needed as much space as possible.
And I chose a notebook because I knew that all the planners that are normally marketed towards teachers are meant more for the elementary classroom, and since I teach middle school/high school, and my brain thinks vertically instead of horizontally… It just does not work.
So the tools I used were:
- Happy planner big teacher notebook
- Disc-punch (similar to the happy planner one, but a much cheaper alternative)
- 100 gram per square meter paper
- My computer, powerpoint and my printer
The DIY process
Let’s just begin by saying, I love making planners for myself. At the moment of writing this, I have 3. My school one, my blog/TpT, and my personal one.
So… I know myself and my love for a good variety of layouts, but I decided to personalize it as much as possible to myself, so I made myself the following layout:
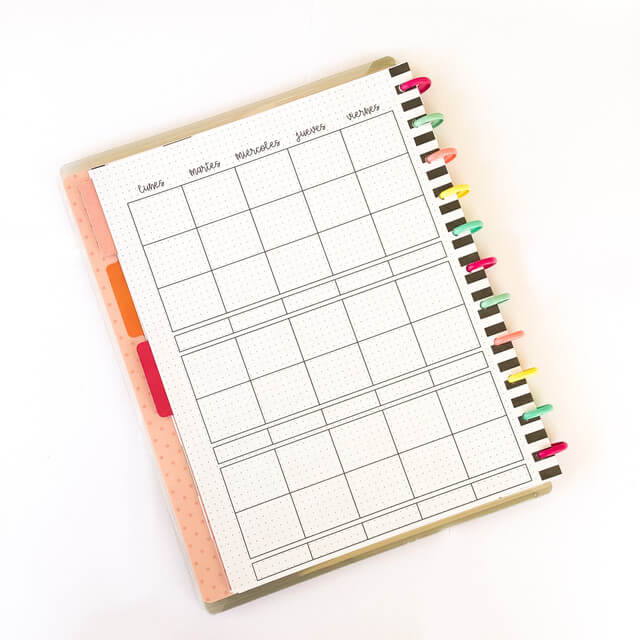
This is the schedule my school follows, in a vertical layout, so I decided initially that I would print it on actual happy planner paper (not my best idea). AAAAAND because I’m lazy, I decided to refine my version, and make this one:
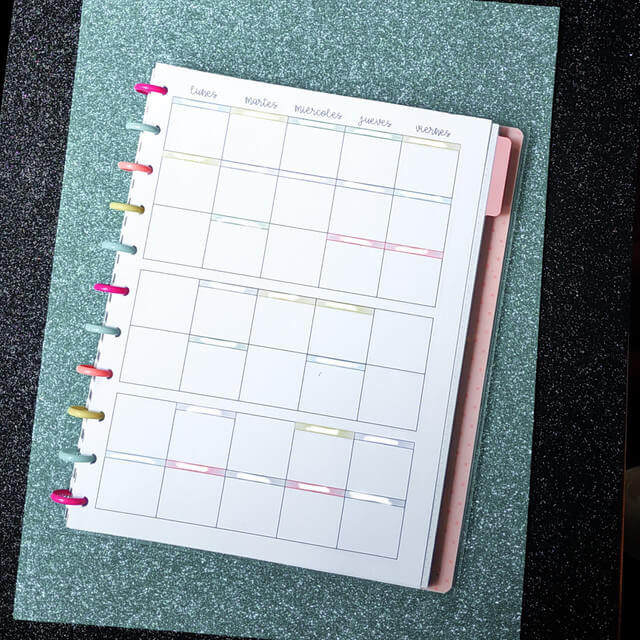
My actual color coded schedule… Like a lazy person! I have everything on this page!
OH! and I nearly forgot! I sandwich one of the happy planner pages between two of these weekly pages.
The sections necessary for my teacher organization
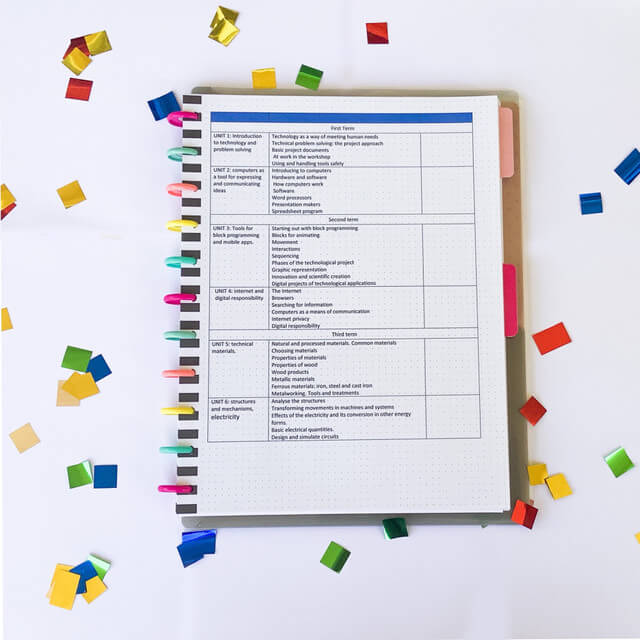
I use a section for my lesson planning: on the one side (in the picture below), the contents of each unit, and on the other side a detailed analysis of each session. I have the whole term fully ready, the year is mostly ready (not 100%), so my planning is much easier. However, my subjects have a LOT of leaway, so I have quite a bit of wiggle room.
After this section comes my weekly sandwich pages. I have enough for a whole term!
After the organizational sandwich, I have a section where I printed my own class lists. Forget writing it in a teacher planner. PRINT IT!
And at the back I have the notes pages I use for my sandwich.
How I use it to not lose my mind
My planning routine:
- Take out my sandwiched notes page
- Go to my lesson plans section, and write down everything I need to make/assign/correct for the week. Most of the times, I write down the things I have already done. Yes, I am one of those that write down the things they have already done, so I can check them off, and no regrets!
- Once I have made my list, I write all of the lesson plans I have fully ready, and write it in the weekly layout. I only write it in when I have everything done. This is crucial, because, I need to be able to see at a glance exactly what classes I am ready for.
- If I am not ready for a class, I leave it on my sandwiched notes page, until I can transfer it to the other side of the page, and categorize it as ready!
- After that, I make sure to highlight anything that is a change from the week before: any meetings, deadlines for paperwork…
Why I love it, and why it’s the best for teacher organization
This system works for me, because it is the perfect system to know exactly what you are doing each period. It is very very easy to check that you have every system in place, and everything ready for the next week.
I have a space for everything, and it is very flexible, because it’s on discs, and I can move everything around when I need to.