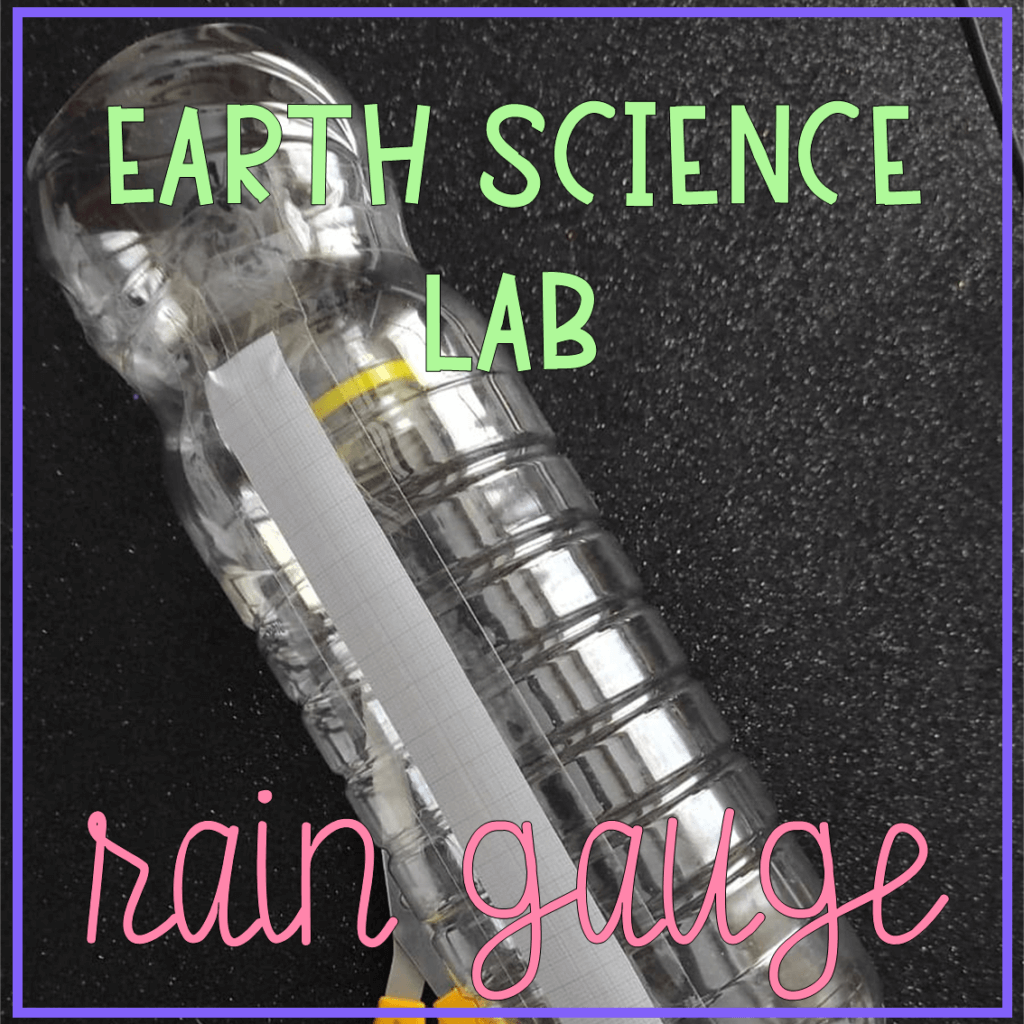
My middle school students have been doing our earth science unit. In this case, it is the atmosphere unit, and as part of it, I have decided to include an earth science lab: the creation of a rain gauge that we can place in a safe place on the rooftop of the school building to measure how much rain falls in a certain week.
Now, I found a lot of rain gauges (most of them on Pinterest), but most of them are too simplistic for middle schoolers: I feel like my students need more of a challenge than just cutting a bottle and flipping it upside down.
In this case, I have decided to get inspiration from different sources and use the inspiration to create my own: one that students can then use a spreadhseet to calculate the amount of water that had fallen, introducing the STEM element to the lab.

We all love some Earth Science resources, but sometimes, you really need to go to the lab with your students, and for me, it’s a particularly difficult branch of science to find labs for. To make this rain gauge, as an earth science lab or a STEM project (here we love the intertwining of all STEM subjects), you are going to need the following materials:
Contenidos
Materials to make the rain gauge earth science lab
- Soda bottle (preferrably one with straight sides)
- Water
- Graph paper
- A beaker to measure water volumes
- Transparent packing tape
- Boxcutter/scissors
- Permanent marker
Instructions
1. Cut the neck off a bottle
Try and cut it as straight as possible. If you have a bit of an angle, your calculations will not be very precise. Use a boxcutter or scissors.
When I do it in class, I use a boxcutter to make the first incision, and then I tell students to use scissors. It’s safer this way.
2. Paste a strip of graph paper along the side of the bottle
I recommend you cover it in packing tape to make sure you are making it waterproof.
3. Weigh down the bottle
I used 200 mL of water , to make a staring point. I have seen other people use rocks, to avoid the problem of water evaporating, but to me, the best solution to this problem is to make this rain gauge lab in the fall/winter and keep them in the shade whenever possible.
If you use rocks or other materials you still would need to add water to level the initial surface, so I used water directly.
4. Mark the point of the surface of the water
Mark the starting point for the rain gauge.
5. Add a known quantity of water into your rain gauge and mark it on the graph paper
I added 100 mL, and measured the height of the water.
This is where having straight sides on the bottle pays off. I only had to add 100mL twice to be able to calculate how much water one mm on the graph paper was equivalent to.
However, if your students do not have bottles with straight sides, it might be a bit more complicated to make this calculation for your earth science lab.
I think you might still be able to calibrate it if you keep adding 100 mL intervals to your bottle, but it might be a bit more complex.
6. Empty the bottle and place the starting amount in it again
After you have done this, place the neck of the bottle upside down on the top of the cut part. Tape both parts together.
Put it out in the rain
Earth science lab: spreadsheet integration
I love me a good STEM project, and this is a good opportunity to bring math into earth science- voilà, use spreadhseets to calculate the amount of rain fallen per square centimeter.
For me, the first step is to introduce the magnitude L/cm^2, and explain that this is the way to measure rain.
For me, the next step would be to make a Google Spreadsheet on Google Classroom where they could all introduce their data and we can all calculate our own numbers for the amount of rain fallen in a certain amount of time.
1. Calculate the surface of the top of the rain gauge
To do this, measure the radius of the top of the rain gauge, and have students calculate it with the standard formula.
2. Use the measurements you have to calculate how many mL correspond to one mm in the graph paper
This will calibrate your device, and that way you can directly get the height in mm, and calculate the amount of water that has fallen in a certain amount of time.
3. Calculate the L/cm^2 that have fallen, and compare it to each other’s value as well as the official value for your location
If you need an example: