Last year I needed to teach the parts of the microscope, and this year I decided to make my own activity instead of using a parts of the microscope worksheet. I really wanted to include everything my students would need to know, the parts of a microscope and their functions, however, I am telling you some ideas for teaching the parts of the microscope activities.
In my ideal world, we would have longer blocks, but in spain, the longest block we have is 1 hour, usually. That’s why there’s hardly any time to do some investigation activities, unless they are well planned. So if you, like me, have shorter blocks, I’m going to help you plan some activities for your students to learn the parts of the microscope.
I would love my students to learn how to use the microscope just by going to the lab and experimenting. But in my experience, that does not help students. They cannot be thrown in at the deep end with equipment that is so special and useful. They need some theoretical training.
Contenidos
Parts of the microscope stations
In my experince, students react better when they know we are giving enough importance to the topic. But of course we’re not about to do a full lecture with the parts of the microscope, because that would be silly… I think one of the best options is to use different stations.
Of course, the idea is that students rotate around a room, and complete the activities on the cards, such as fill in the blanks, answer questions, or other such activities. I teach ELL students, so my favourite task cards are fill in the blanks.
Practical stations
You may want to make practical stations. Students test out all of the different parts of the microscope to see exactly what they do, but I want students to have notes, as a reference for all the practicals we are going to do throughout the year.
Print and go stations
You could do print and go stations, there are plenty of options out there, where you can just use the cards and any surface for the task cards.
Sticky note stations
I made this sticky notes stations activity. I love using sticky notes in the classroom. They are really easy to print on once you know how to, and there are a lot of uses for them in the classroom.
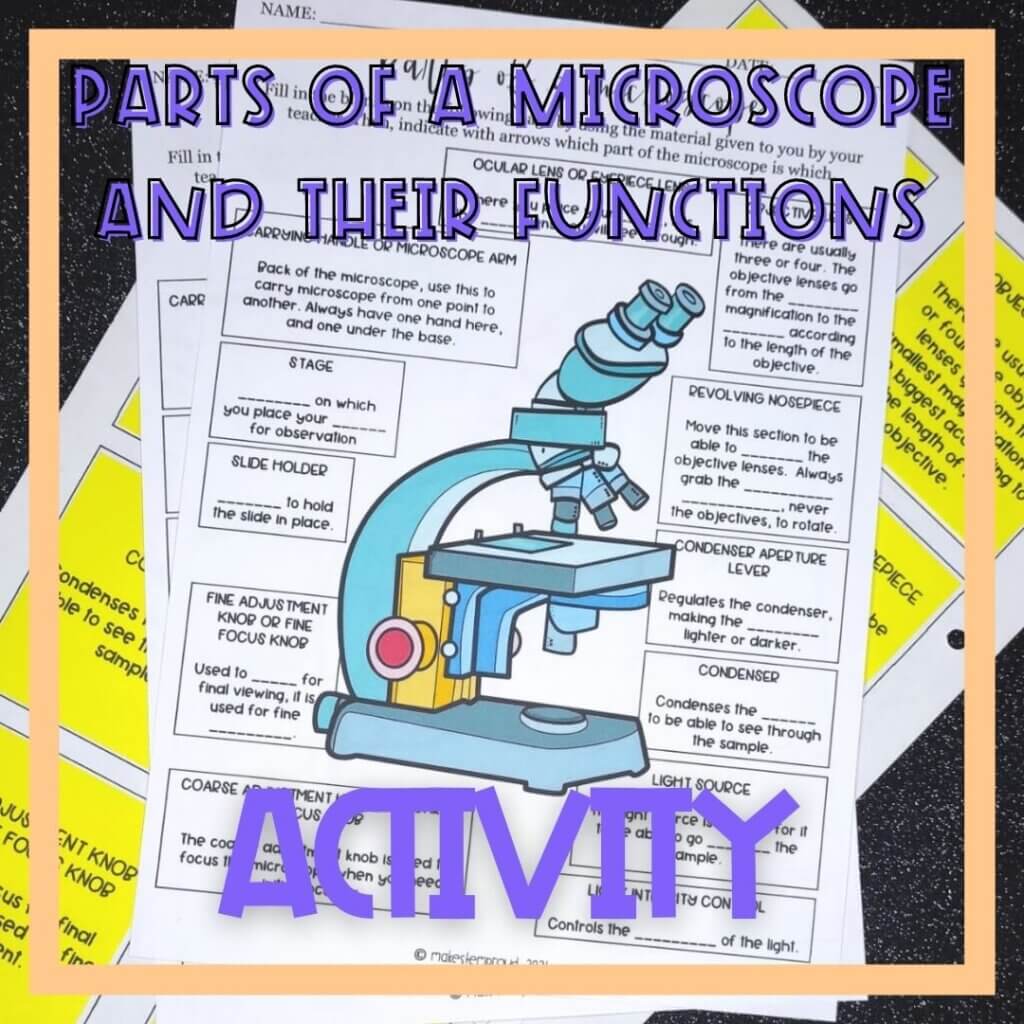
The idea is that you have printed the different parts of the microscope and their characteristics on the different sticky notes. You can directly stick each sticky note to the different parts of the microscope.
In the product I made I also included some options for the students notes: completely blank, fill in the gaps, and full notes.
My idea with this is that my students, that work best with cloze notes, will have an easier task than copying or condensing all the information.
That way, the students can correctly identify and fill in the function for each part of the microscope. It gives them enough tools to correctly use the microscope in the future, as well as giving them a reference sheet in case they need it.
Practical activity for the parts of the microscope and their functions
But of course the whole point of the students learning the parts of the microscope and their functions is for them to be able to use it.
If you need ideas on what you could examine under the microscope, I have several options for you in the following post:
You have some good options there, but of course you can search for other things.
Practical exam for the parts of the microscope
When the students have completed their microscope worksheet, there are several things you can do to evaluate their knowledge. My favourite one is a microscope practical exam. I give students samples and they need to focus it, as well as being able to manipulate it to doing whatever I tell them to, like position the sample, move it right or left, put the microscope away, set it up… all of it.